Understanding 3D
- markfrancis4
- Feb 15, 2021
- 5 min read

Updated: Jan 31, 2022
More and more brands are looking at 3D design to improve business performance by simplifying design approvals, reducing sample costs, improving range planning without a physical product or as a better means to communicate their products to buyers. With any new technology, unless you are hands-on on a day to day basis, you may find yourself at a loss about how it all works. And if you do not understand the basics, then you cannot have the business conversations that you need to make the most of 3D.
In this blog, I will share the basics of 3D (the bits you need to know) without too much technical jargon and explain a few keywords that you might hear.
What is 3D?
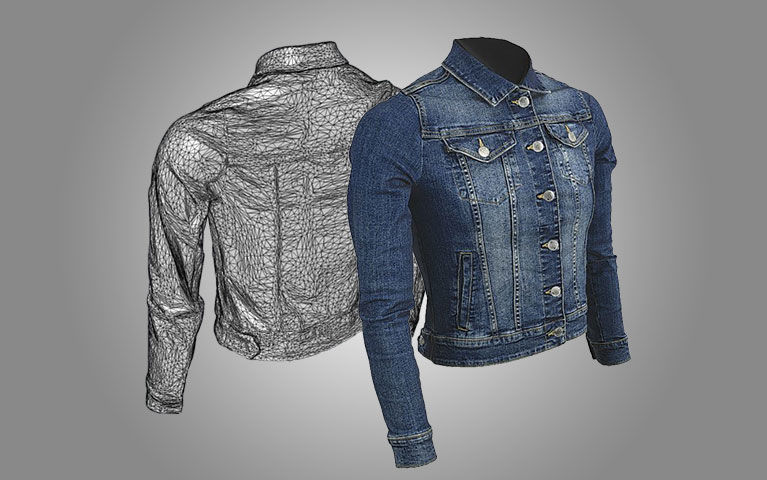
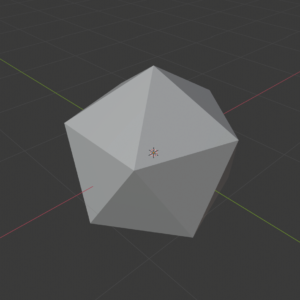
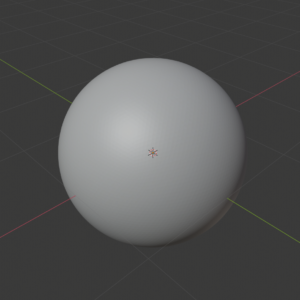
3D means three dimensional. All physical objects in the real world have 3 dimensions (width, height and depth). Of course, if you want a computer to represent a real-world object, first you need more than one set of measurements. You need to provide the position of multiple points on the surface of the object. These points are typically joined together by 3D software to form triangles or rectangles (quads), that represent the surface of the object.


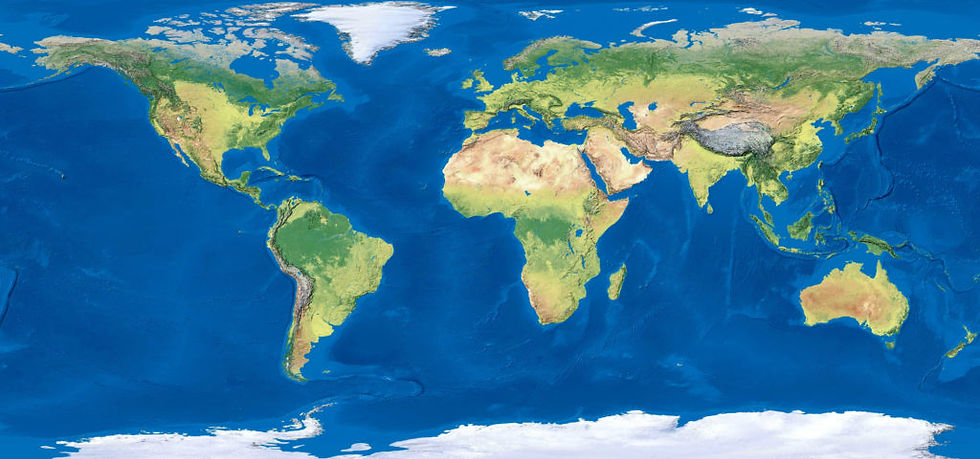
Secondly, you need a representation of the material the surface is made from. The material can be simply defined by a set of properties such as its colour, reflection, and how transparent it is (opacity). But to get a really good representation, textures in the form of flat images are used to wrap around the object. Think of a shoe-shaped object being perfectly wrapped in paper that has all the textures of a shoe on it. Now it really looks like a shoe. It’s not unusual to make textures out of flat scans of real physical materials. Scan a map of the world then apply it to the 3D model of a ball and you have representation of the Earth. The more detailed the map, the more you can zoom in.

Creating Quality
Creating 3D models of objects can be done through either scanning real physical objects or using 3D modelling software to create them without ever having a real object to start with. Creating realistic 3D models from nothing is difficult. The answer? Good software and a highly skilled operator.
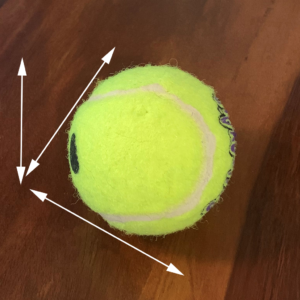
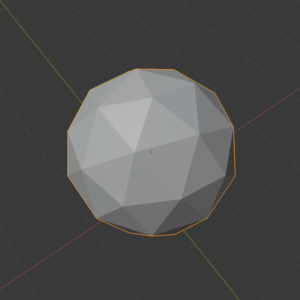
When creating 3D, the more points, and the more polygons you include, the smoother and more accurate the shape of the object can be. However, this can impact on how fast a computer can create an image of your 3D model. 3D models with low polygon counts appear with angles and sharp edges and are often used in computer games where speed is paramount.

Then there are the textures used in the materials. These will often make up the bulk of the model’s storage size. The more detail required, the bigger the texture images need to be, and the larger the file sizes required to store them.
Turning 3D models into visuals you can see!
A 3D computer model is not useful until its rendered. Rendering is the process that turns the mathematic model with its polygons and textures into something that can be visualised and displayed on screen. Remember that screens are 2D, so the computer must generate a virtual camera, position it looking at the 3D model then work out what you would see, if you took a picture through that camera. This is done through a technique called “Raytracing”. This traces each ray of light that comes from the 3D model and hits the virtual camera, to work out the image to be displayed. This requires significant processing power.
There are two options here, you can pre-render your images or carry out real time rendering.
Pre-Rendering
As the name suggests, all the rendering is done up front. The camera positions are predefined, and the generated visuals are stored as images. Or you can create video by rendering a sequence of images and moving the camera or the object. You can also use this technique to generate all the views around the object to create a turntable effect. The end-user can interact with the image sequence and display their chosen view of the object, if it is one of the pre-rendered views on the turntable. (This is sometimes referred to as 2.5D)
Pre-rendering also means you can choose the software used to create the render, allowing for advanced visual creation of textures like hair, or movement of cloth over an arm.
With pre-rendering, the speed of rendering does not matter. It can take hours, if required, to render a single image to allow for huge amounts of detail, realistic textures, and real-world quality. It also does not matter what computer the end user is using to view the rendered image, as all the effort is done upfront. The end user only see the results: the final image or the recorded video. The big drawback with pre-rendering is that the user cannot change what they see, they are limited to the decisions made at the time the rendering took place.
3D Artist Web Server

3D Artist creates 3D models and Rendered images and Video
textures and renders final visuals. ready for distribution
End User
The user views the high quality pre-rendered image
as defined by the 3D artist.
Real-Time Rendering
The advantage of real time rendering to the end user is that they have full control. They control the virtual camera, and their computer works out what the camera would see and displays it on screen, generating fresh images continuously which gives the impression of movement. The user choses what to look at and how close to view it.
To give smooth movement, you need to generate dozens of images every second – a very different timescale to pre-rendering. To prevent end users requiring expensive graphics cards with dedicated hardware to carry this out, a certain amount of quality reduction is made. The end user has no access to specialist rendering software so cannot view the more sophisticated effects. However, the computing power that is now generally available makes real-time interactive 3D viable option for business use.
3D Artist Web Server

3D Artist creates 3D models and GLTF ( .glb ) 3D Package - not
textures and packes them up in to rendered yet.
a GTLF ( .glb ) file for rendering
later.
The are many proprietary formats used in 3D production which are highly dependent on the 3D creation software used. However, the GLTF format and its single file GLB type has been designed as a common standard for the display of 3D scenes by web browsers and applications such as MS Office… This standard format broadens to use of 3D assets throughout your business, enabling all your teams and sales channels to maximise the return on your 3D investment.
Summary
3D can be game-changing for businesses looking to improve their processes. Whatever role 3D takes in your business, whether it is creating images and video or providing users with real-time interaction with your products, you need a platform where your 3D content can be viewed, stored and integrated with your other product information, ready to be delivered in an optimised, scalable way throughout your sales channels to support your digital go to market strategy.
Here at Hark, we are all about pushing your product data, information, and marketing assets to its maximum potential; including those beautiful 3D product renderings your designers have spent many months creating.
Find out how to unlock the power of 3D here or contact us for more information.


Comments